Planting Turnip Seeds: A Beginner's Guide to Growing a Cool Crop
Turnips are an excellent choice for your autumn vegetable garden. These cool-weather crops are not only delicious and versatile but also relatively easy to grow from seeds. In this beginner's guide, we will walk you through the steps of planting turnip seeds, from preparation to harvest, ensuring a successful and rewarding gardening experience.
Step 1: Choosing the Right Time and Location
Turnips thrive in cool temperatures, so it's best to plant them in early spring or late summer to early fall, depending on your location. Ensure the soil temperature is around 45°F to 75°F for optimal germination. Pick a location in your garden that receives full sun or partial shade throughout the day. Additionally, make sure the soil is well-draining, loose, and rich in organic matter.
Step 2: Soil Preparation and Seedbed Establishment
Prepare the soil by removing any weeds, rocks, or debris and loosen it with a garden fork or tiller. Incorporate organic matter such as compost or well-rotted manure to improve soil fertility and drainage. Rake the soil to create a fine seedbed, free of large clumps.
Step 3: Sowing Turnip Seeds
Turnip seeds are relatively small, so they should be sown thinly and evenly to prevent overcrowding. Create furrows in the prepared soil about ½ inch deep and 12 inches apart. Space the rows about 12 to 18 inches apart to allow sufficient room for the turnip roots to develop. Place the seeds in the furrows, spacing them about 1 inch apart. Cover the seeds with a thin layer of soil and gently pat it down.
Alternatively, turnips make an excellent cover crop for gardens. You can broadcast seed over the garden area to be planted, rake the soil gentle to help bed the seed, and then gentle pack the area. Also, to help give the seeds the best conditions for germination, try planting them just before a forecasted rain.
Step 4: Watering and Maintenance
After sowing the turnip seeds, water the soil gently but thoroughly. Keep the soil consistently moist, especially during germination, which typically takes around 7 to 10 days. Be careful not to overwater, as excessive moisture may cause rot or fungal diseases. Once the seedlings emerge, thin them to 3 to 4 inches apart, allowing the stronger plants to grow without competition.
Step 5: Fertilization and Weed Control
Turnips benefit from regular fertilization. Apply a balanced, slow-release fertilizer according to the manufacturer's instructions when the plants reach a height of around 3 to 4 inches. Mulching around the plants with straw or wood chips can help suppress weeds and retain moisture. Keep the area weed-free by hand pulling or carefully cultivating around the plants, taking care not to disturb the shallow root system.
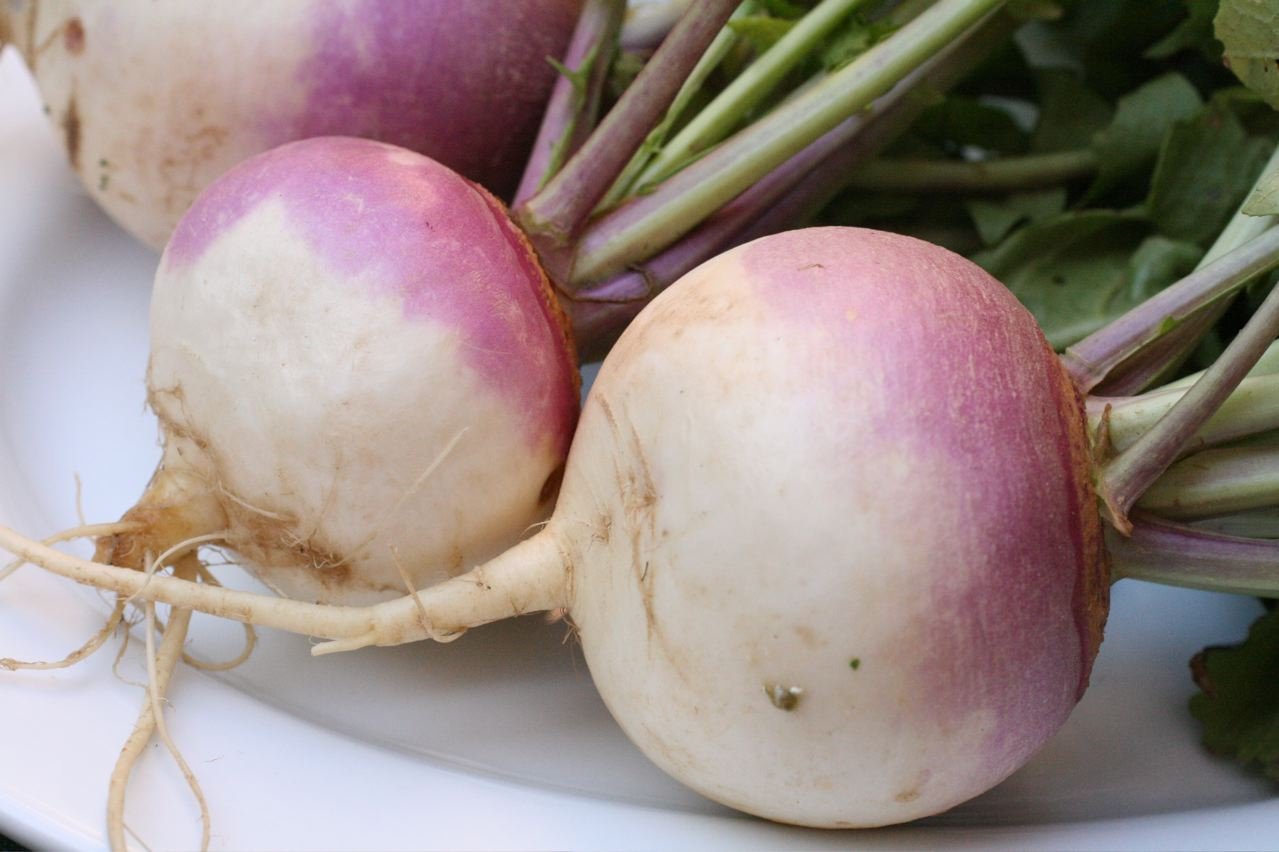
Step 6: Harvesting Turnips
Turnips are ready to harvest when the roots reach their desired size, usually around 2 to 3 inches in diameter. Young turnips tend to be tender and milder in flavor. You can harvest them early for baby turnips or allow them to grow larger for a more substantial harvest. Gently loosen the soil around the base of the plant with a garden fork or trowel, taking care not to damage the roots. Lift the turnips from the ground, removing any excess soil, and trim the tops if desired.
Planting turnip seeds can be a satisfying and straightforward process, offering a bountiful harvest of nutritious and versatile root vegetables. By following these steps, from choosing the right time and location to harvesting your turnips, you'll be well on your way to enjoying the fruits of your labor. Remember to maintain a consistent watering schedule, control weeds, and provide proper fertilization for healthy growth. With a little patience and care, you'll soon be relishing the delicious taste and rewarding experience of homegrown turnips straight from your garden.