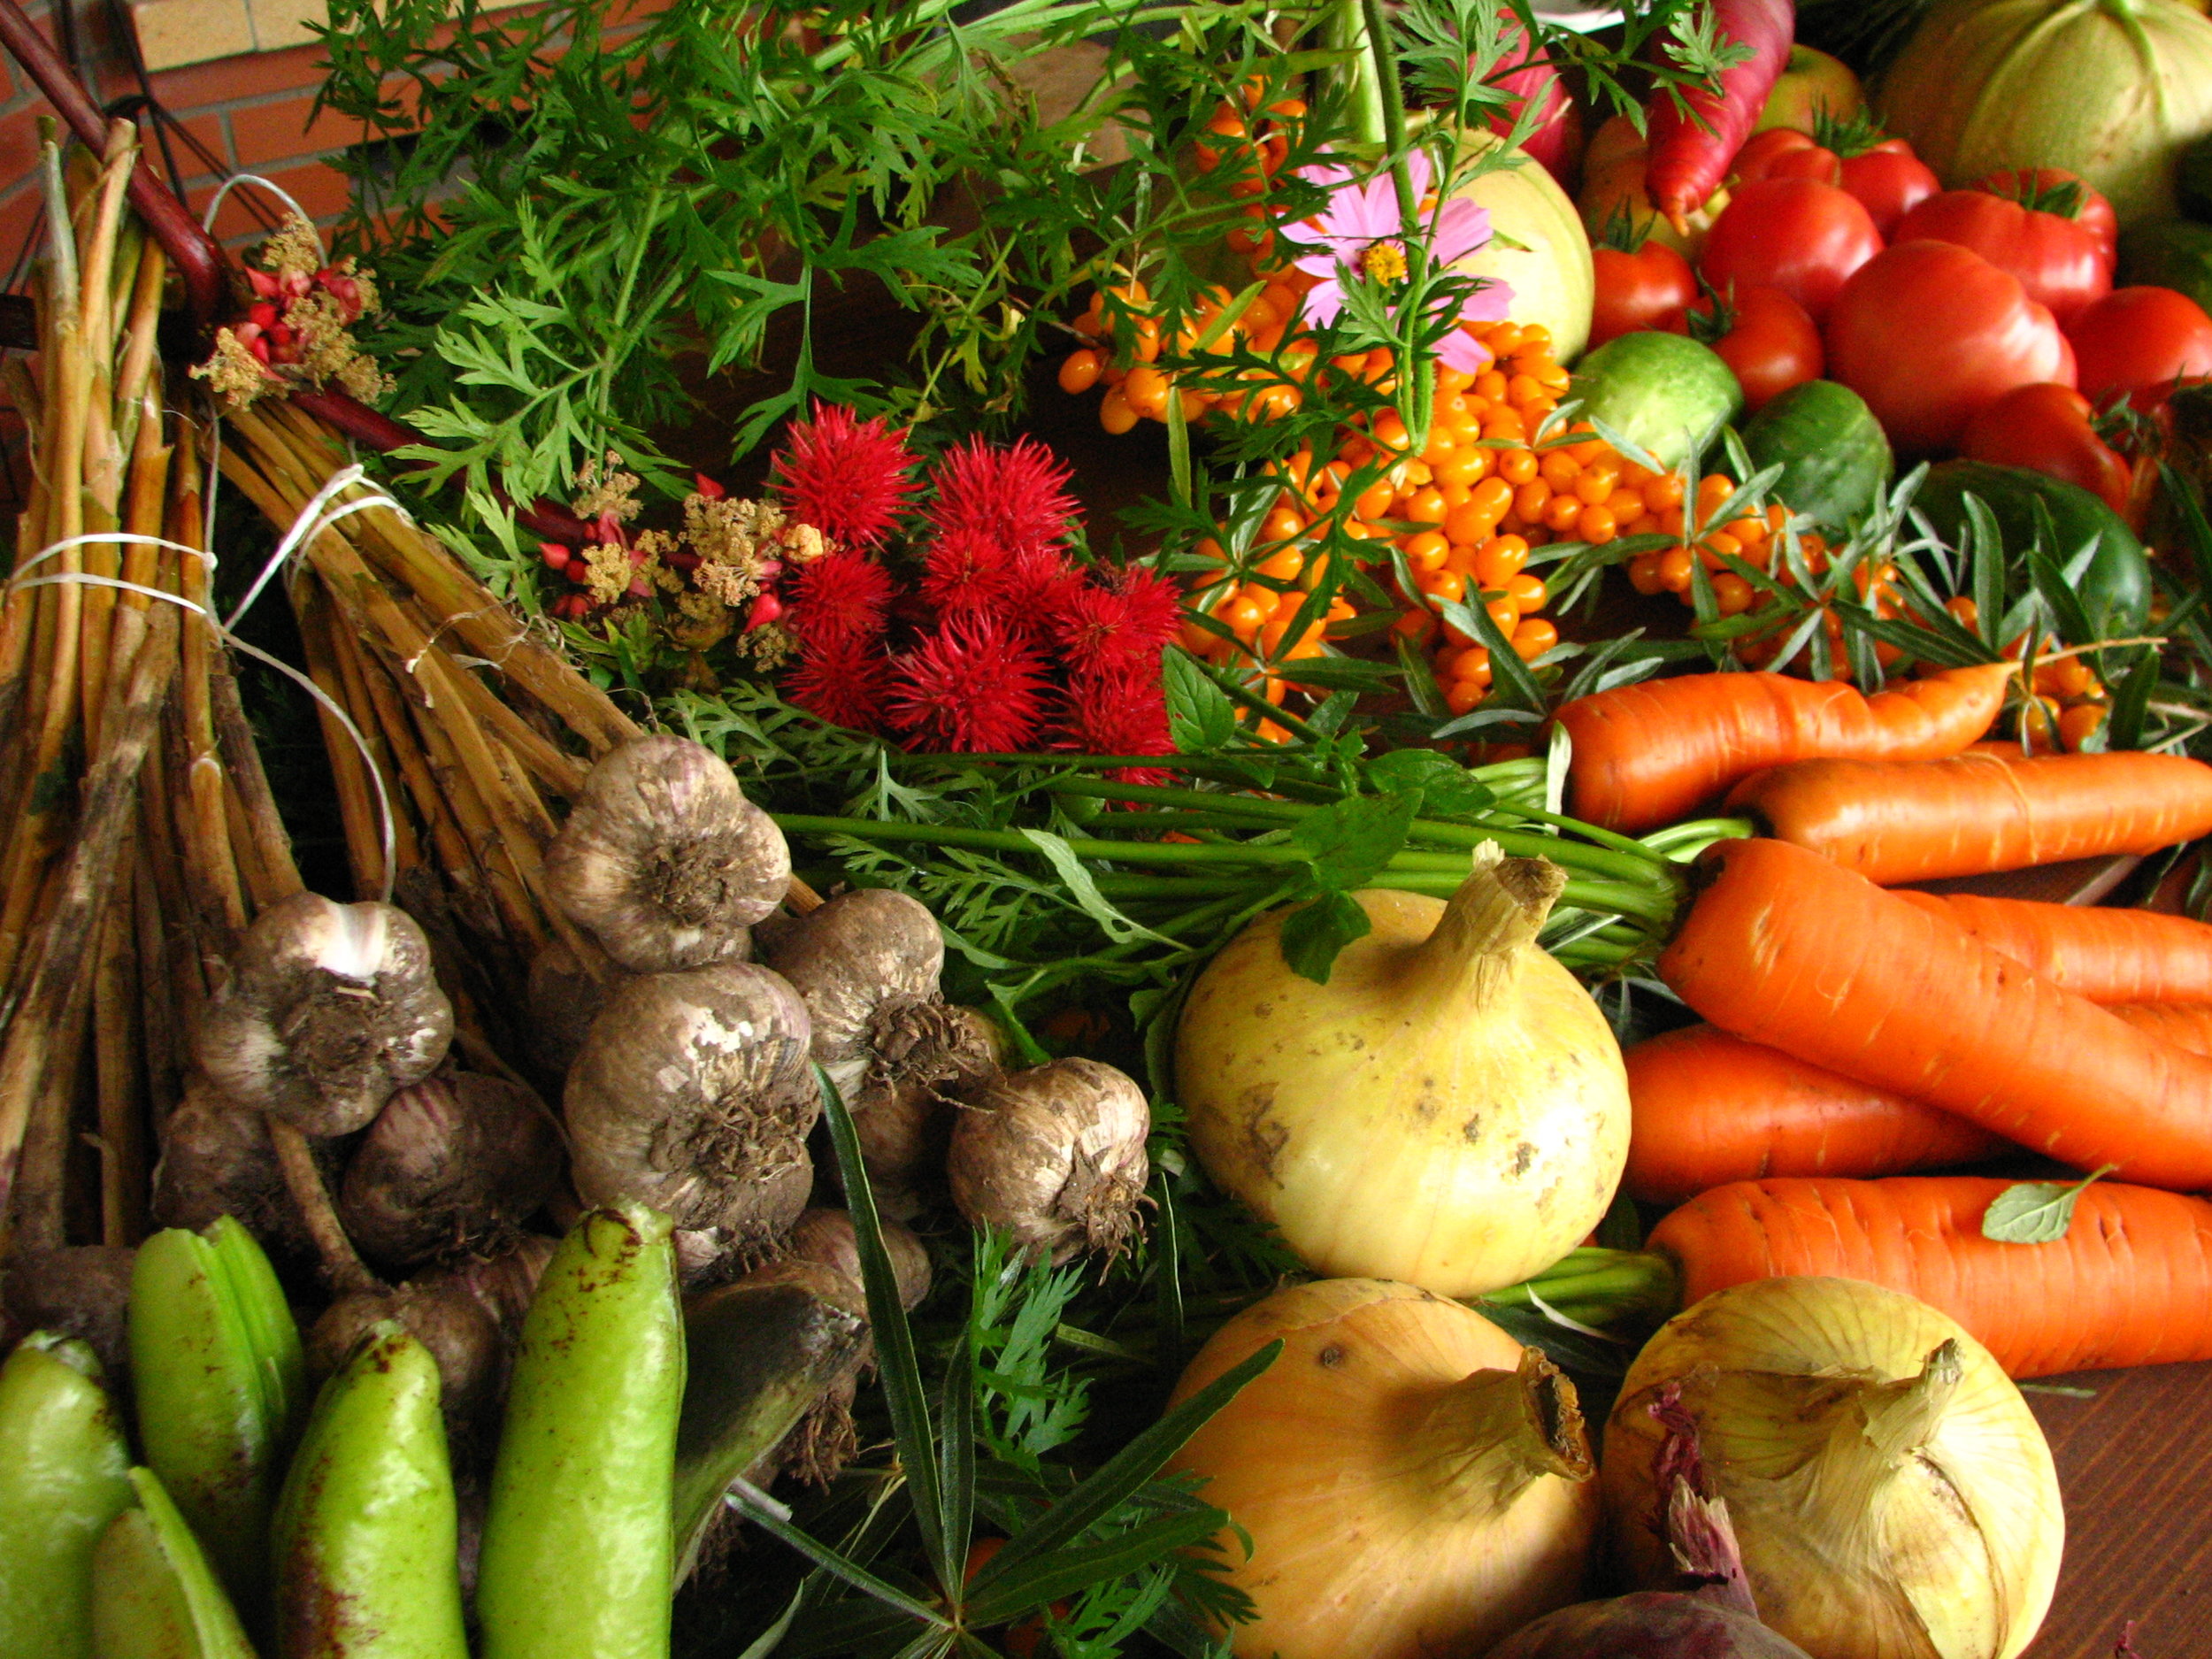
Corena’s Kitchen

Every Wednesday at Bob's Market and Greenhouses, we share inspiring recipes that celebrate the fresh vegetables harvested from your garden. These recipes not only highlight seasonal produce but also provide creative ways to incorporate your homegrown veggies into delicious meals. Whether you’re looking for hearty salads, savory soups, or flavorful stir-fries, our weekly posts offer a variety of ideas to help you make the most of your garden bounty. Join us for culinary inspiration that transforms your garden's offerings into delightful dishes for you and your family.

Presto Dill Pesto
Dill pesto is one of my favorite ways to kick up the flavor on broiled or baked fish. It's also very good served over grilled or roasted veggies. I use a small bunch of dill from the garden or my hydroponics system during the winter.
Dill pesto is one of my favorite ways to kick up the flavor on broiled or baked fish. It's also very good served over grilled or roasted veggies. I use a small bunch of dill from the garden or my hydroponics system during the winter.
Ingredients

1 bunch fresh dill, chopped
1 tablespoon walnuts
1 tablespoon freshly grated Parmesan cheese
½ lemon, zested and juiced
1 clove garlic, peeled and quartered
⅛ teaspoon salt
freshly ground black pepper to taste
1 pinch red pepper flakes (Optional)
2 tablespoons olive oil
Directions
Step 1
Place dill fronds (a few stems are OK), walnuts, lemon juice, lemon zest, garlic, salt, pepper, and red pepper flakes into the bowl of a food processor. If you have a mini or small food processor, it will be large enough for this recipe.
Step 2
Pulse until everything is minced well, scraping down the sides as necessary. With the machine running, drizzle in the olive oil, blending for a few seconds until smooth.
Step 3
If not serving immediately, store the pesto in an airtight container and chill until ready to use.

Zucchini Noodle Casserole
Zucchini season is upon us! It can be a challenge this time of the year to find enough recipes for zucchini to create variety. Here is another great recipe to incorporate into your courgette recipe rotation.
Zucchini season is upon us! It can be a challenge this time of the year to find enough recipes for zucchini to create variety. Here is another great recipe to incorporate into your courgette recipe rotation.
Ingredients

3 tablespoons olive oil, divided, or as needed
5 zucchini squash, cut into 'noodles' using a spiral slicer or vegetable peeler
¼ cup minced garlic
1 (16 ounce) jar marinara sauce, or to taste
1 (7 ounce) container 2% Greek yogurt
1 pinch Italian seasoning, or to taste
salt and ground black pepper to taste
½ cup shredded mozzarella cheese
Directions
Step 1
Preheat oven to 425 degrees F.
Step 2
Heat 1 tablespoon oil in a large skillet over medium-high heat. Working in batches, saute enough zucchini to fit in the skillet with 1 teaspoon garlic until zucchini is slightly browned and softened, 3 to 6 minutes. Repeat with remaining olive oil, zucchini, and garlic. Transfer cooked zucchini mixture to a 9x13-inch baking dish.
Step 3
Whisk marinara sauce, yogurt, Italian seasoning, salt, and black pepper together in a saucepan over low heat; cook and stir until sauce is warmed through, 5 to 10 minutes. Pour sauce over zucchini mixture in the baking dish. Sprinkle mozzarella cheese and a pinch of Italian seasoning over the top.
Step 4
Bake in the preheated oven until cheese is bubbling, 20 to 30 minutes.

Strawberry Jam
If you grow everbearing strawberry varieties, there’s still a harvest of strawberry goodness to be had this summer. Give this simple jam recipe a try.

Image by congerdesign from Pixabay
If you grow everbearing strawberry varieties, there’s still a harvest of strawberry goodness to be had this summer. Give this simple jam recipe a try.
Ingredients
2 pounds fresh strawberries, hulled
4 cups white sugar
¼ cup lemon juice
Directions
In a wide bowl, crush strawberries in batches until you have 4 cups of mashed berry.
In a heavy bottomed saucepan, mix together the strawberries, sugar, and lemon juice. Stir over low heat until the sugar is dissolved.
Increase heat to high, and bring the mixture to a full rolling boil. Boil, stirring often, until the mixture reaches 220 degrees F (105 degrees C).
Transfer to hot sterile jars, leaving 1/4 to 1/2 inch headspace, and seal. Process in a water bath.
If the jam is going to be eaten right away, don't bother with processing, and just refrigerate.

Watermelon Feta Salad
On a hot summer day, there’s nothing like a cold watermelon from Bob’s. Give this salad a try at your next cookout for a refreshing take on this summer treat.
On a hot summer day, there’s nothing like a cold watermelon from Bob’s. Give this salad a try at your next cookout for a refreshing take on this summer treat.

Ingredients
3 tablespoons olive oil
2 teaspoons white balsamic vinegar
½ teaspoon kosher salt
8 ounces grape tomatoes, halved
3 cups arugula
1 cup sliced red onion
2 pounds watermelon, cubed
4 ounces feta cheese, cut into 1/4-inch cubes
Directions
Whisk together the olive oil, vinegar, and salt in a large mixing bowl.
Add the tomatoes, arugula, and onions; toss to coat.
Gently stir in the watermelon and feta cheese to serve.

Pineapple Cheesecake Dessert
This pineapple dessert is the perfect cool treat for hot summer days.
This pineapple dessert is the perfect cool treat for hot summer days.
Ingredients
Crust:
2 1/2 C graham cracker crumbs
1/2 C unsalted butter melted
Cream Cheese mixture:
8 oz Cream cheese softened
1/2 C unsalted butter softened
2 C powdered sugar
20 oz can of crushed pineapple drained (You will using about 3/4 of the crushed pineapple and the other 1/4 in the cool whip)
Cool whip mixture
1 8 oz cool whip
1/4 C crushed pineapple
INSTRUCTIONS
Preheat oven to 350 degrees
In a large mixing bowl, mix together the 2 1/2 C crushed graham cracker crumbs and melted butter and mix until combined
Using only 2 C of the mixture, press into a 9x9 baking dish
Place into the oven and bake for 9 minutes
Remove and allow to cool completely
Then, place a can of crushed pineapple into a strainer and drain the juice completely
Using a standing mixer, cream together the butter and cream cheese until smooth and creamy
Mix in the powdered sugar until incorporated
Fold in 3/4 of the crushed pineapple into the cream cheese mixture
Spread cream cheese mixture onto the cooled crust
Using a large mixing bowl, mix together the last of the pineapple and cool whip together
Spread onto the top of the cream cheese mixture
Using the remaining graham cracker crust, sprinkle onto the top of the cool whip layer
Cover with plastic wrap and place into the fridge overnight


Pressure Cooker Baby Back Ribs
Tender, sweet, and sticky baby back ribs that only take 1 hour from prep to plate. If you like them with a little spice, add a teaspoon of cayenne pepper to the dry rub. I make this in my 8-quart electric pressure cooker (Instant Pot); a 6-quart pot may require less liquid.
Tender, sweet, and sticky baby back ribs that only take 1 hour from prep to plate. If you like them with a little spice, add a teaspoon of cayenne pepper to the dry rub. I make this in my 8-quart electric pressure cooker (Instant Pot); a 6-quart pot may require less liquid.
Ingredients

2 racks baby back pork ribs
Dry Rub:
¼ cup dark brown sugar
2 tablespoons garlic salt (such as Lawry's®)
2 tablespoons chili powder
1 teaspoon ground black pepper
1 teaspoon cayenne pepper, or to taste (Optional)
Cooking Liquid:
1 cup beef broth
12 fluid ounces root beer
2 tablespoons apple cider vinegar
1 teaspoon liquid smoke flavoring
1 cup barbecue sauce, or more to taste
Directions
Step 1
Use a butter knife to cut into an edge of the rib racks. Use a paper towel to grab and lift off the silvery membranes.
Step 2
Combine brown sugar, garlic salt, chili powder, black pepper, and cayenne pepper in bowl. Coat the ribs generously with the dry rub.
Step 3
Place the trivet inside the Instant Pot®. Pour in broth, root beer, vinegar, and liquid smoke. Place ribs on the trivet on their sides, with one inside the other. Close and lock the lid and make sure the vent is sealed. Select manual high pressure and set the timer for 30 minutes. Allow 10 to 15 minutes for pressure to build.
Step 4
Release pressure using the natural-release method according to manufacturer's instructions for 15 minutes. Release remaining pressure carefully using the quick-release method according to manufacturer's instructions, about 5 minutes. Unlock and remove the lid.
Step 5
Set an oven rack about 6 inches from the heat source and preheat the oven's broiler on the highest heat setting. Place a rack 6 inches from the heat source.
Step 6
Transfer ribs to a broiling pan and generously coat with barbecue sauce.
Step 7
Cook in the broiler until barbeque sauce is bubbly and caramelized, 5 to 7 minutes.