Winterizing Your Garden Tools: A Guide for Proper Storage
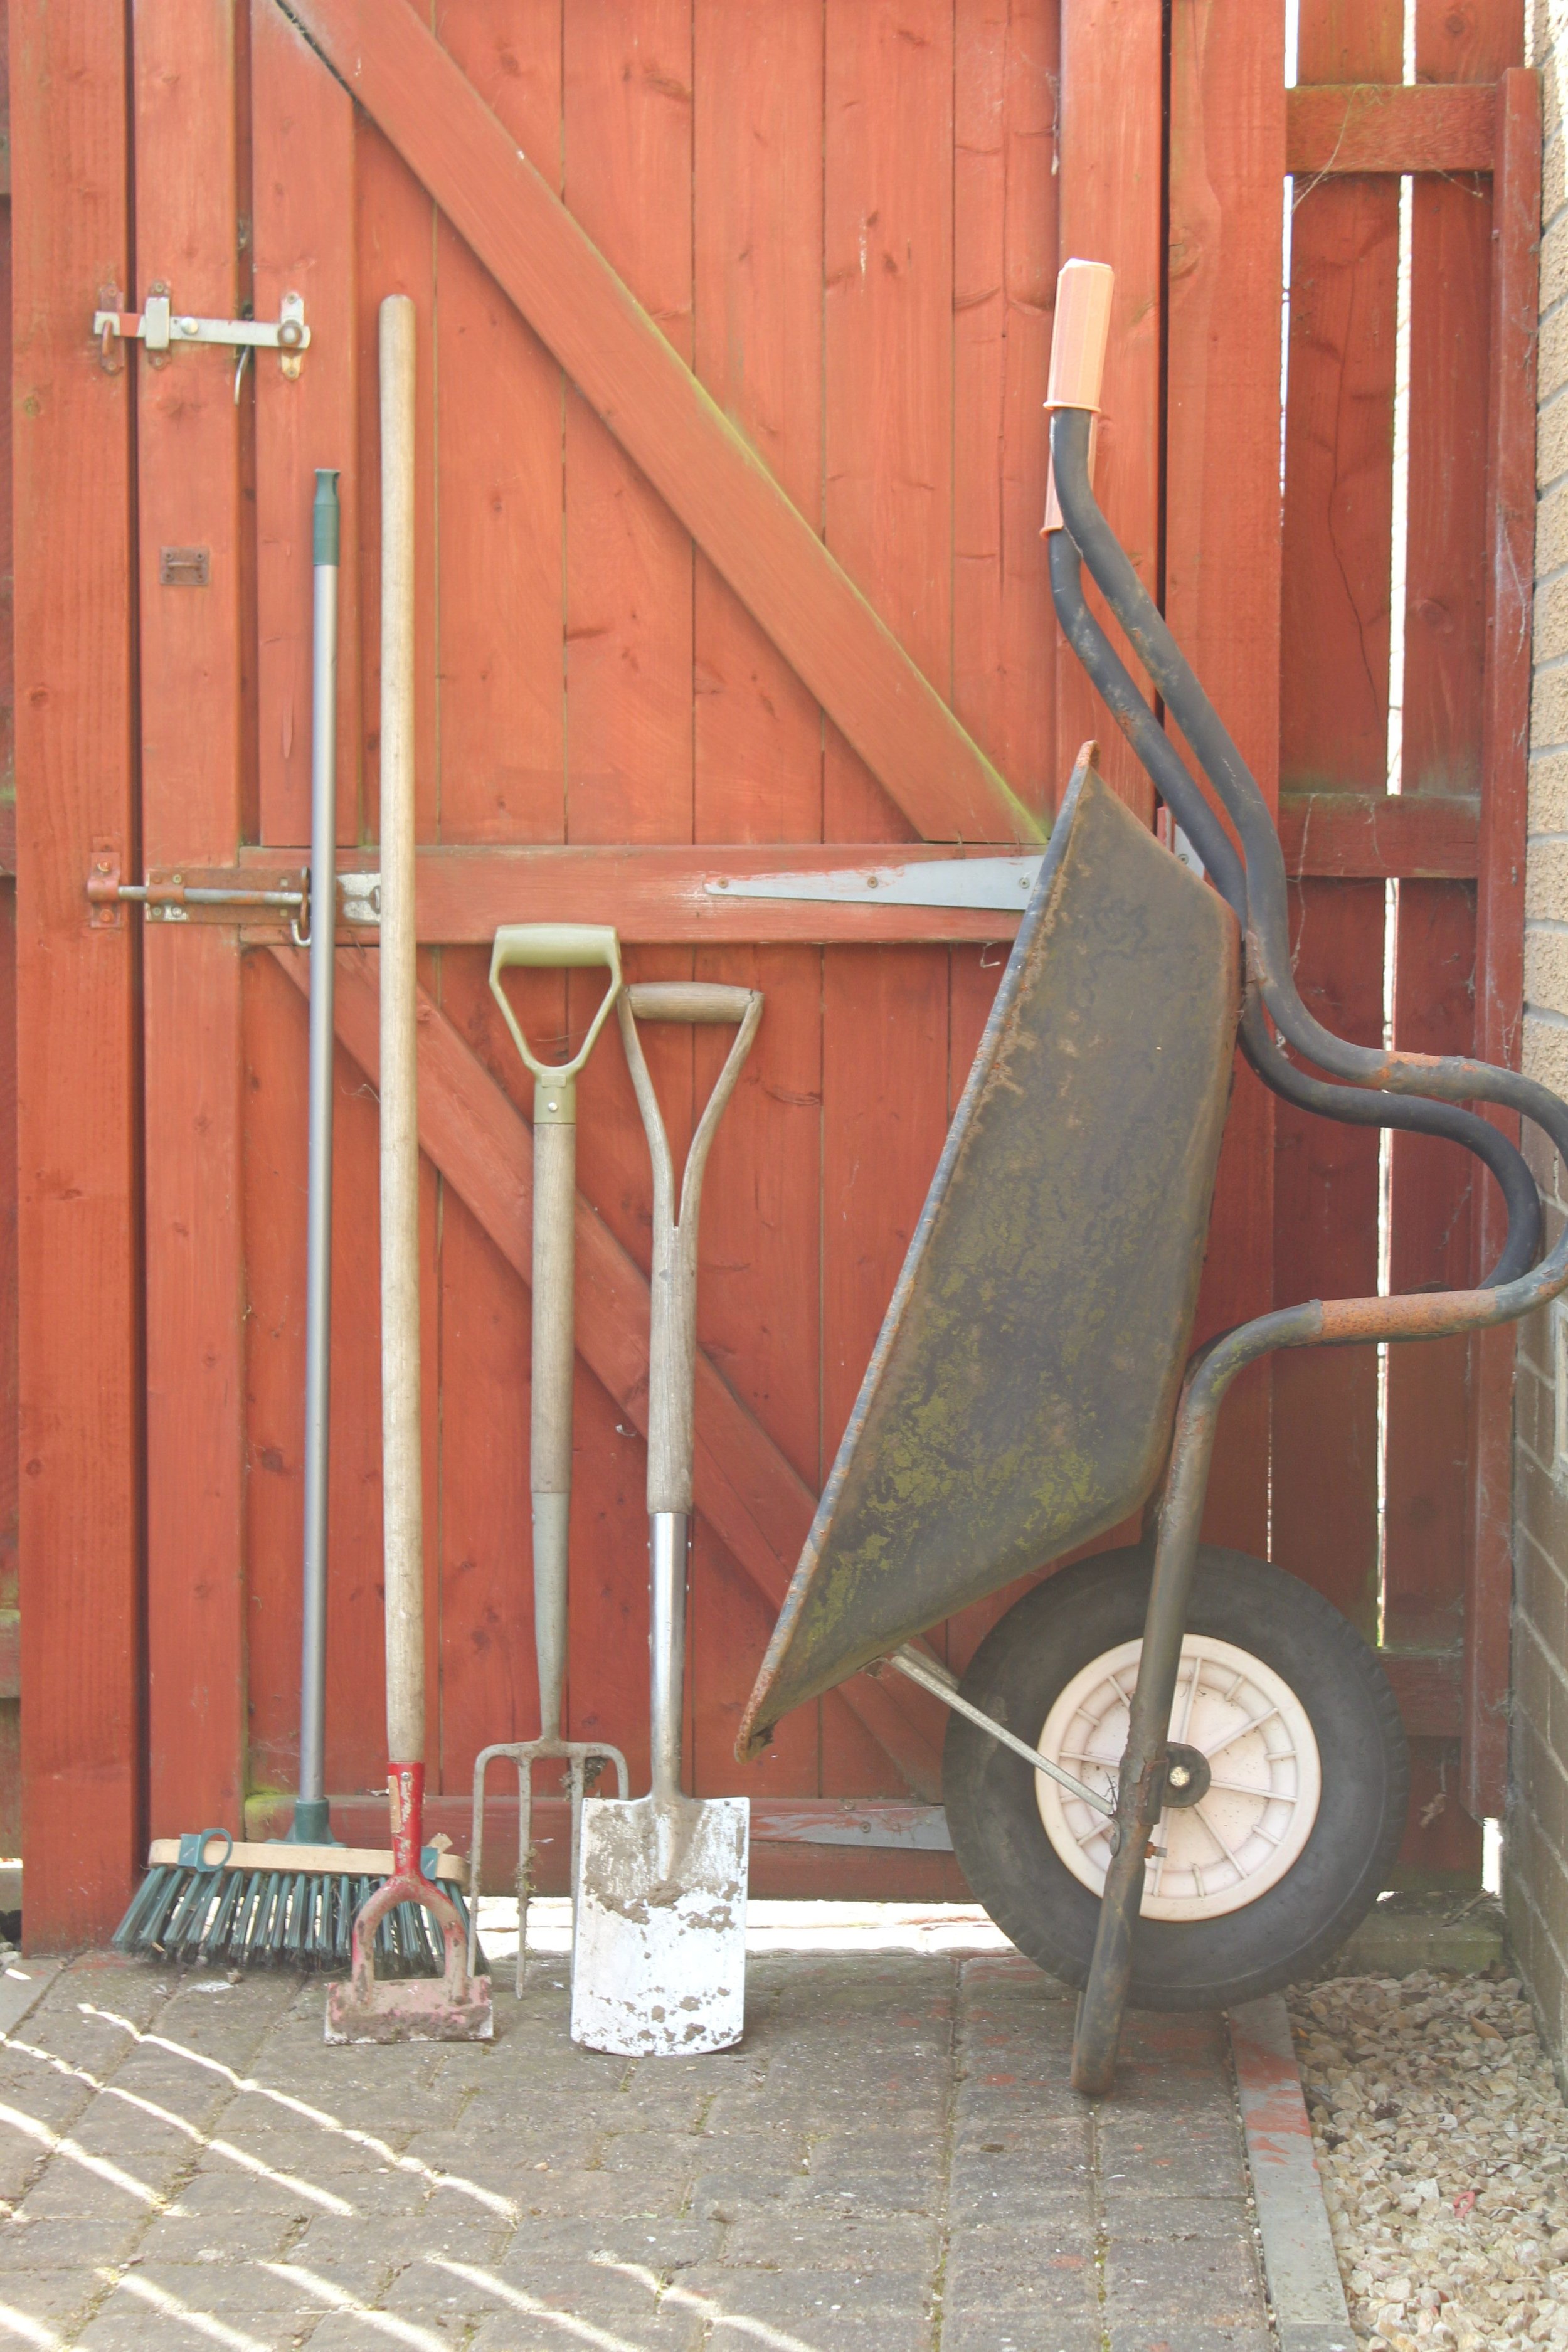
Image via pxHere - CC0 Public Domain
As the crisp winds of winter approach, it's essential to prepare not only your garden but also your trusty garden tools for the season ahead. Properly storing your garden tools during the winter months can extend their lifespan and save you money in the long run. In this blog post, we'll walk you through a step-by-step guide on how to store your garden tools for winter, ensuring they'll be in tip-top shape when spring arrives.
Step 1: Clean and Inspect
The first and most crucial step in preparing your garden tools for winter is cleaning and inspecting them. Dirt, moisture, and plant residues left on your tools can lead to rust and corrosion over the winter. Follow these simple steps to ensure your tools are clean and in good condition:
1. Gather your tools: Collect all your garden tools, including shovels, rakes, pruners, and hoes.
2. Remove dirt and debris: Use a wire brush or a putty knife to scrape off any caked-on dirt or debris from your tools.
3. Wash with water: Use a hose or a bucket of soapy water to wash your tools thoroughly. A stiff-bristle brush can help remove stubborn grime.
4. Dry completely: After washing, let your tools air dry to prevent any moisture from causing rust.
While cleaning, take the time to inspect your tools for signs of damage. Look for bent tines, loose handles, or other issues that need repair before storing your tools for the winter.
Step 2: Sharpen and Oil
Once your garden tools are clean and dry, it's a good time to sharpen and oil them. Sharp tools make gardening tasks more manageable and efficient. Follow these steps:
1. Sharpen the blades: Use a sharpening stone or a file to sharpen the edges of your pruners, shears, and other cutting tools.
2. Oil the metal parts: To prevent rust, apply a light coat of oil to the metal parts of your tools. Household oil or motor oil works well for this purpose. Wipe off any excess oil to avoid attracting dirt.
Step 3: Handle Care
The handles of your garden tools, especially wooden ones, need special attention to prevent cracks and splinters. Follow these steps to care for your tool handles:
1. Inspect for damage: Check wooden handles for cracks, splinters, or signs of wear.
2. Sand and smooth: If you find any imperfections, sand the handle to remove rough spots and splinters.
3. Apply wood treatment: To keep wooden handles in good condition, you can apply linseed oil or a wood preservative. Allow it to soak in and dry before storage.
Step 4: Store Properly
The final step is to store your garden tools properly for the winter. Follow these tips to ensure your tools remain in excellent condition:
1. Organize and hang: Arrange your tools in an organized manner, and hang them on a pegboard or hooks. This prevents them from leaning on each other and causing damage.
2. Store in a dry place: Keep your tools in a dry, sheltered location, such as a shed, garage, or workshop. Moisture can lead to rust and deterioration.
3. Use a tool rack or storage caddy: Consider using a tool rack or storage caddy to keep your tools organized and within easy reach when spring arrives.
Taking the time to properly store your garden tools for the winter is a small investment that can pay off with longer-lasting, more effective tools when the gardening season returns. Clean, inspect, sharpen, and oil your tools before storing them in a dry, well-organized space. By following these steps, you'll be well-prepared to tackle your gardening projects when the snow melts and springtime blossoms.