Cultivating Gold: A Guide to Growing Turmeric Indoors

Tumeric Flower - Maharashtra, India - CC0 Public Domain
Turmeric, with its vibrant golden hue and numerous health benefits, is a prized addition to any kitchen. While it's commonly grown in tropical climates, the good news is that you can cultivate this potent spice right in the comfort of your home. In this blog post, we'll explore the steps and considerations for successfully growing turmeric indoors, allowing you to enjoy a fresh supply of this "golden spice" at your fingertips.
Understanding Turmeric:
Turmeric (Curcuma longa) is a tropical rhizomatous herb that belongs to the ginger family. Known for its active compound curcumin, turmeric is renowned for its anti-inflammatory and antioxidant properties. Turmeric grows wild in the forests of South and Southeast Asia, where it is collected for use in classical Indian medicine (Siddha or Ayurveda). There is evidence that turmeric extracts may be beneficial for relieving symptoms of knee osteoarthritis, as well as for reducing pain and muscle damage following physical exercise.
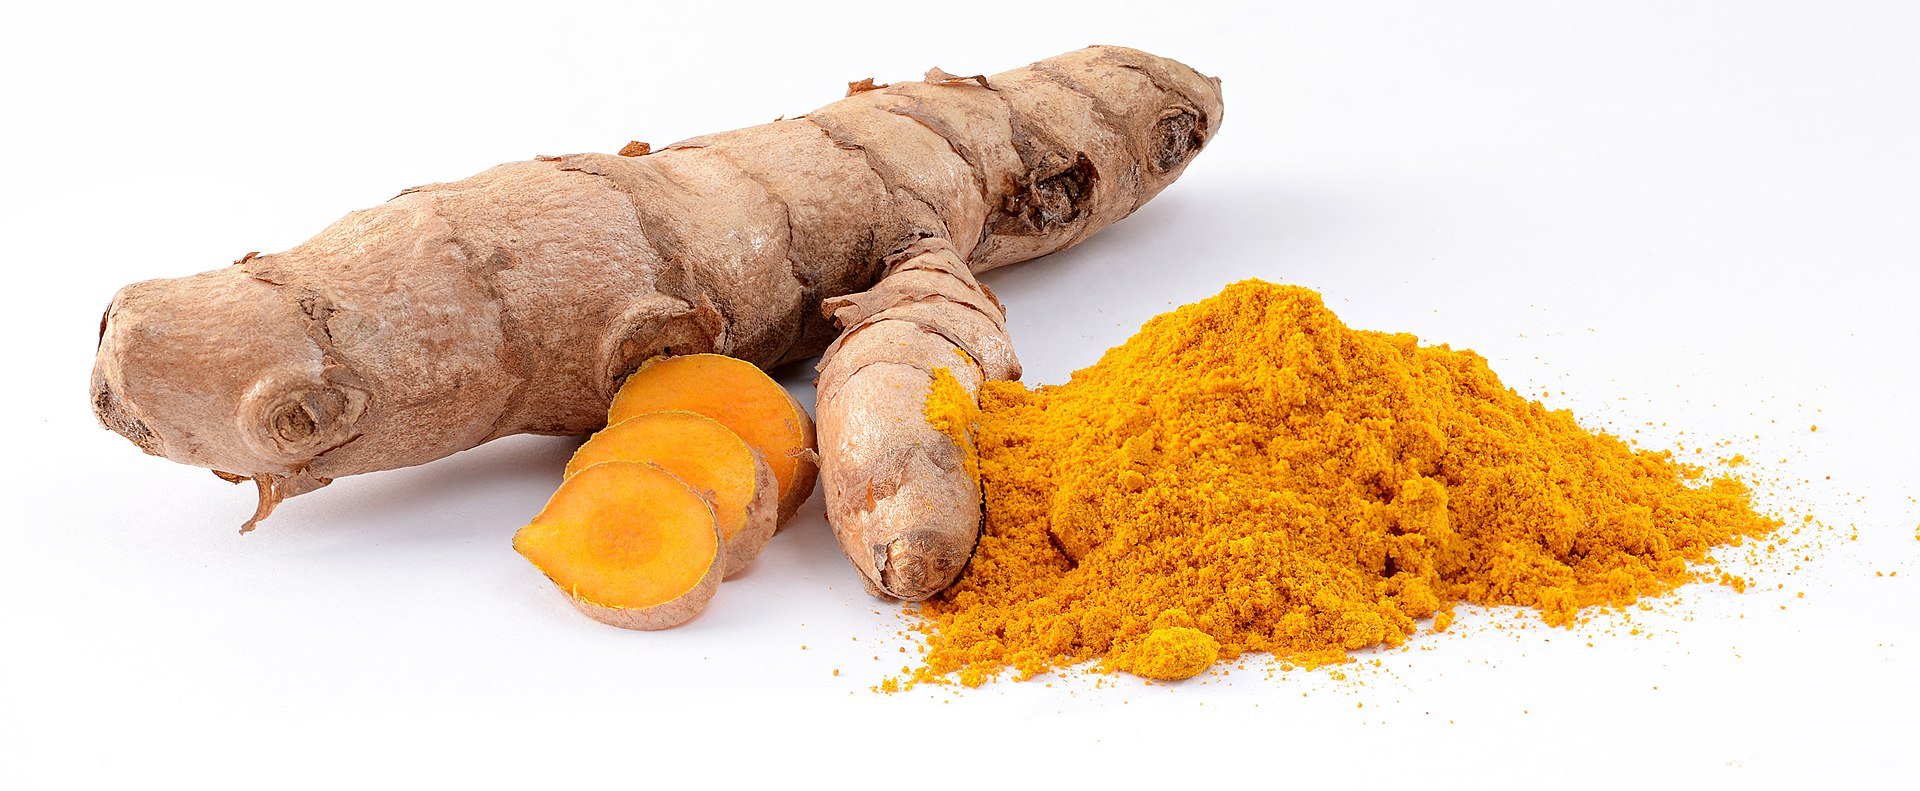
Turmeric (Curcuma longa): fresh rhizome and powder - CC BY-SA 3.0
1. Choosing the Right Turmeric Rhizomes:
Start with high-quality turmeric rhizomes, which are the root structures from which the plant grows. Look for fresh, plump rhizomes with several buds or "eyes" that indicate the potential for new shoots.
2. Selecting the Right Container:
Choose a wide, shallow container with drainage holes to prevent waterlogging. Turmeric prefers well-draining soil, so use a rich potting mix that includes organic matter. A depth of at least 12 inches (30 cm) is recommended to accommodate the rhizomes' growth.
3. Planting Turmeric:
Plant the turmeric rhizomes with the eyes facing upward, just beneath the soil surface. Space them a few inches apart to allow room for growth. Water the soil thoroughly after planting.
4. Providing the Right Conditions:
Turmeric thrives in warm, humid conditions. Place your container in a location that receives bright, indirect sunlight. If you live in a cooler climate, consider using a heat mat to maintain the soil temperature around 75°F (24°C), which is ideal for turmeric.
5. Watering Routine:
Turmeric prefers consistently moist but not waterlogged soil. Water when the top inch of the soil feels dry and be mindful not to let the soil dry out completely. Maintain a humid environment by misting the plant or placing a tray of water nearby.
6. Fertilizing:
Feed your turmeric plant with a balanced, water-soluble fertilizer every 2-3 weeks during the growing season (spring and summer). Reduce fertilization in the fall and winter when the plant is less active.
7. Managing Growth:
Turmeric can grow to be a tall, lush plant. To encourage bushier growth and larger rhizome development, pinch back the stems when they reach around 6 inches (15 cm) in height.
8. Harvesting Turmeric:
Turmeric is typically ready for harvest 8-10 months after planting. You can harvest the rhizomes when the leaves start to turn yellow, and the plant begins to die back. Gently dig up the rhizomes, being careful not to damage them.
9. Storing and Using Turmeric:
After harvesting, clean the rhizomes and store them in a cool, dark place. You can use turmeric fresh or dry it for later use. Grate or chop the fresh turmeric for culinary applications or dry it and grind it into a powder.

Botanical view of Curcuma longa - Public Domain
Growing turmeric indoors is not only a rewarding gardening experience but also a way to enjoy the numerous health benefits of this potent spice right from your own home. By providing the right conditions, care, and patience, you can cultivate a steady supply of fresh turmeric, infusing your culinary creations with the warmth and richness of this golden gem. So, roll up your sleeves, get your gardening gear, and embark on the journey of cultivating your own indoor turmeric harvest!