Garden Tilling
Soon it will be time in our region to begin planting our gardens. Some of you might have already planted seed potatoes. It’s time to break out the tiller and get your hands dirty. If you’re new to gardening, here are some things to consider when tilling up your garden plot.
If you are starting with a fresh plot that has never been used as a garden before, I recommend getting a soil test. You’ll need to start working the soil well in advance to kill off grass (if you’re creating a new plot in a yard), remove rocks and other debris, and properly amend the soil. Also, before you break ground on a new garden plot be sure to contact local utilities to make sure you don’t dig into buried utilities.
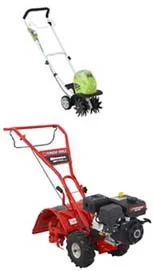
When it comes to tillers and cultivators, the sky is the limit with almost any design you could want. You can get small cultivators for smaller plots all the way up to PTO-powered tillers for tractors. For this blog post we’re going to shoot for the middle of the road and discuss the basic tilling method for walk behind tillers. Again, there are quite a few variations with front tine tillers, rear tine tillers, and even vertical tine tillers that almost stir the soil.
For best results when tilling, wait a day or so after it rains so the dirt is semi-dry. A little moisture will make the soil easier to till. Soil that is too wet will clump and eventually dry into hard clods that will be difficult to break up.
Read the cultivator or tiller manufacturer's instructions carefully to become familiar with the controls and for information on use, maintenance and safety. Wear eye protection, sturdy work shoes or boots and any other safety gear and clothing specified by the manufacturer. Instructions for cultivating and tilling may vary by the machine and the type of work you're doing. Here are some general steps for tilling a garden.
Step 1
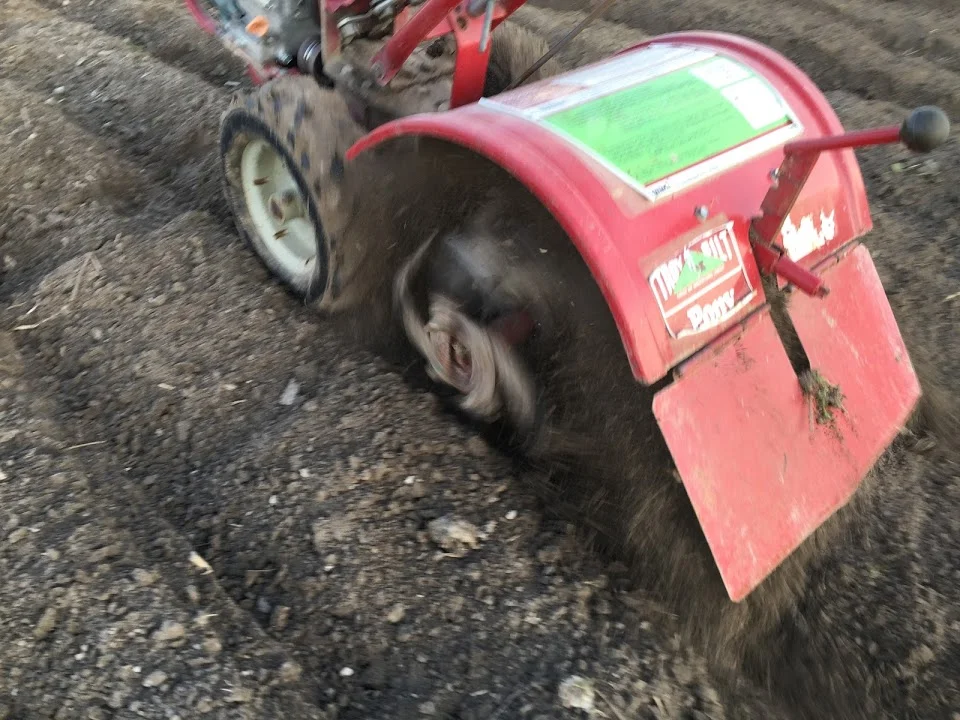
Remove any rocks, sticks or other debris. For existing gardens, pull up any thick weeds or vegetation that might become entangled in the cultivator or tiller tines. The machine will chop up smaller weeds.
Step 2
Set the tiller for the appropriate depth. Use a shallow setting to start on hard, compacted soil. For softer ground, start at a medium setting.
Step 3
Start the tiller, following the manufacturer's directions.
Step 4
Engage the tines and slowly make parallel passes across the garden. Let the tiller do the work. Some manufacturers suggest simply overlapping, straight passes while others may recommend a particular pattern.
Step 5
Once you've tilled the entire garden, adjust the tiller to its deepest setting, and begin making passes perpendicular to the first set of passes. Walk slowly and remember to let the machine do the work.
Step 6
After you've broken up the ground, you can work any amendments into your soil. Make passes along the length of the garden followed by passes across its width.
Step 7
Continue tilling until the organic matter is thoroughly mixed into the soil to a depth of about 8 inches.
Step 8
Allow the amendments and organic material to enrich the soil for a few days, or if possible, several weeks before continuing.
Step 9
With the tiller at a medium-depth setting, make passes back and forth across the garden to aerate it and make sure the nutrients are well-blended.
Step 10
Set the tiller to a deeper setting, and make the final perpendicular passes across the garden soil.
Important Things to Remember
For best results, keep these tips in mind when using a cultivator or tiller:
Do not overwork the soil; this can create a base for soil compaction.
Remove any rocks or other debris as you till them up to avoid damage to the tines.
Clean the tines regularly while tilling and after you are finished to remove entangled plant material.